Introduction
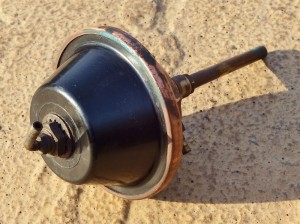
The vacuum operated Trico washer pump units are basically all identical, although the vacuum and washer fluid connections may differ. The pump unit of the XK 120/140 is placed on top of the glass reservoir whereas the pump unit of the XK 150 is placed within the glass reservoir.

 Pump XK 120 & 140: bottom fixation nut Pump unit XK 150 (& Mk 1) with fixation nut at the top


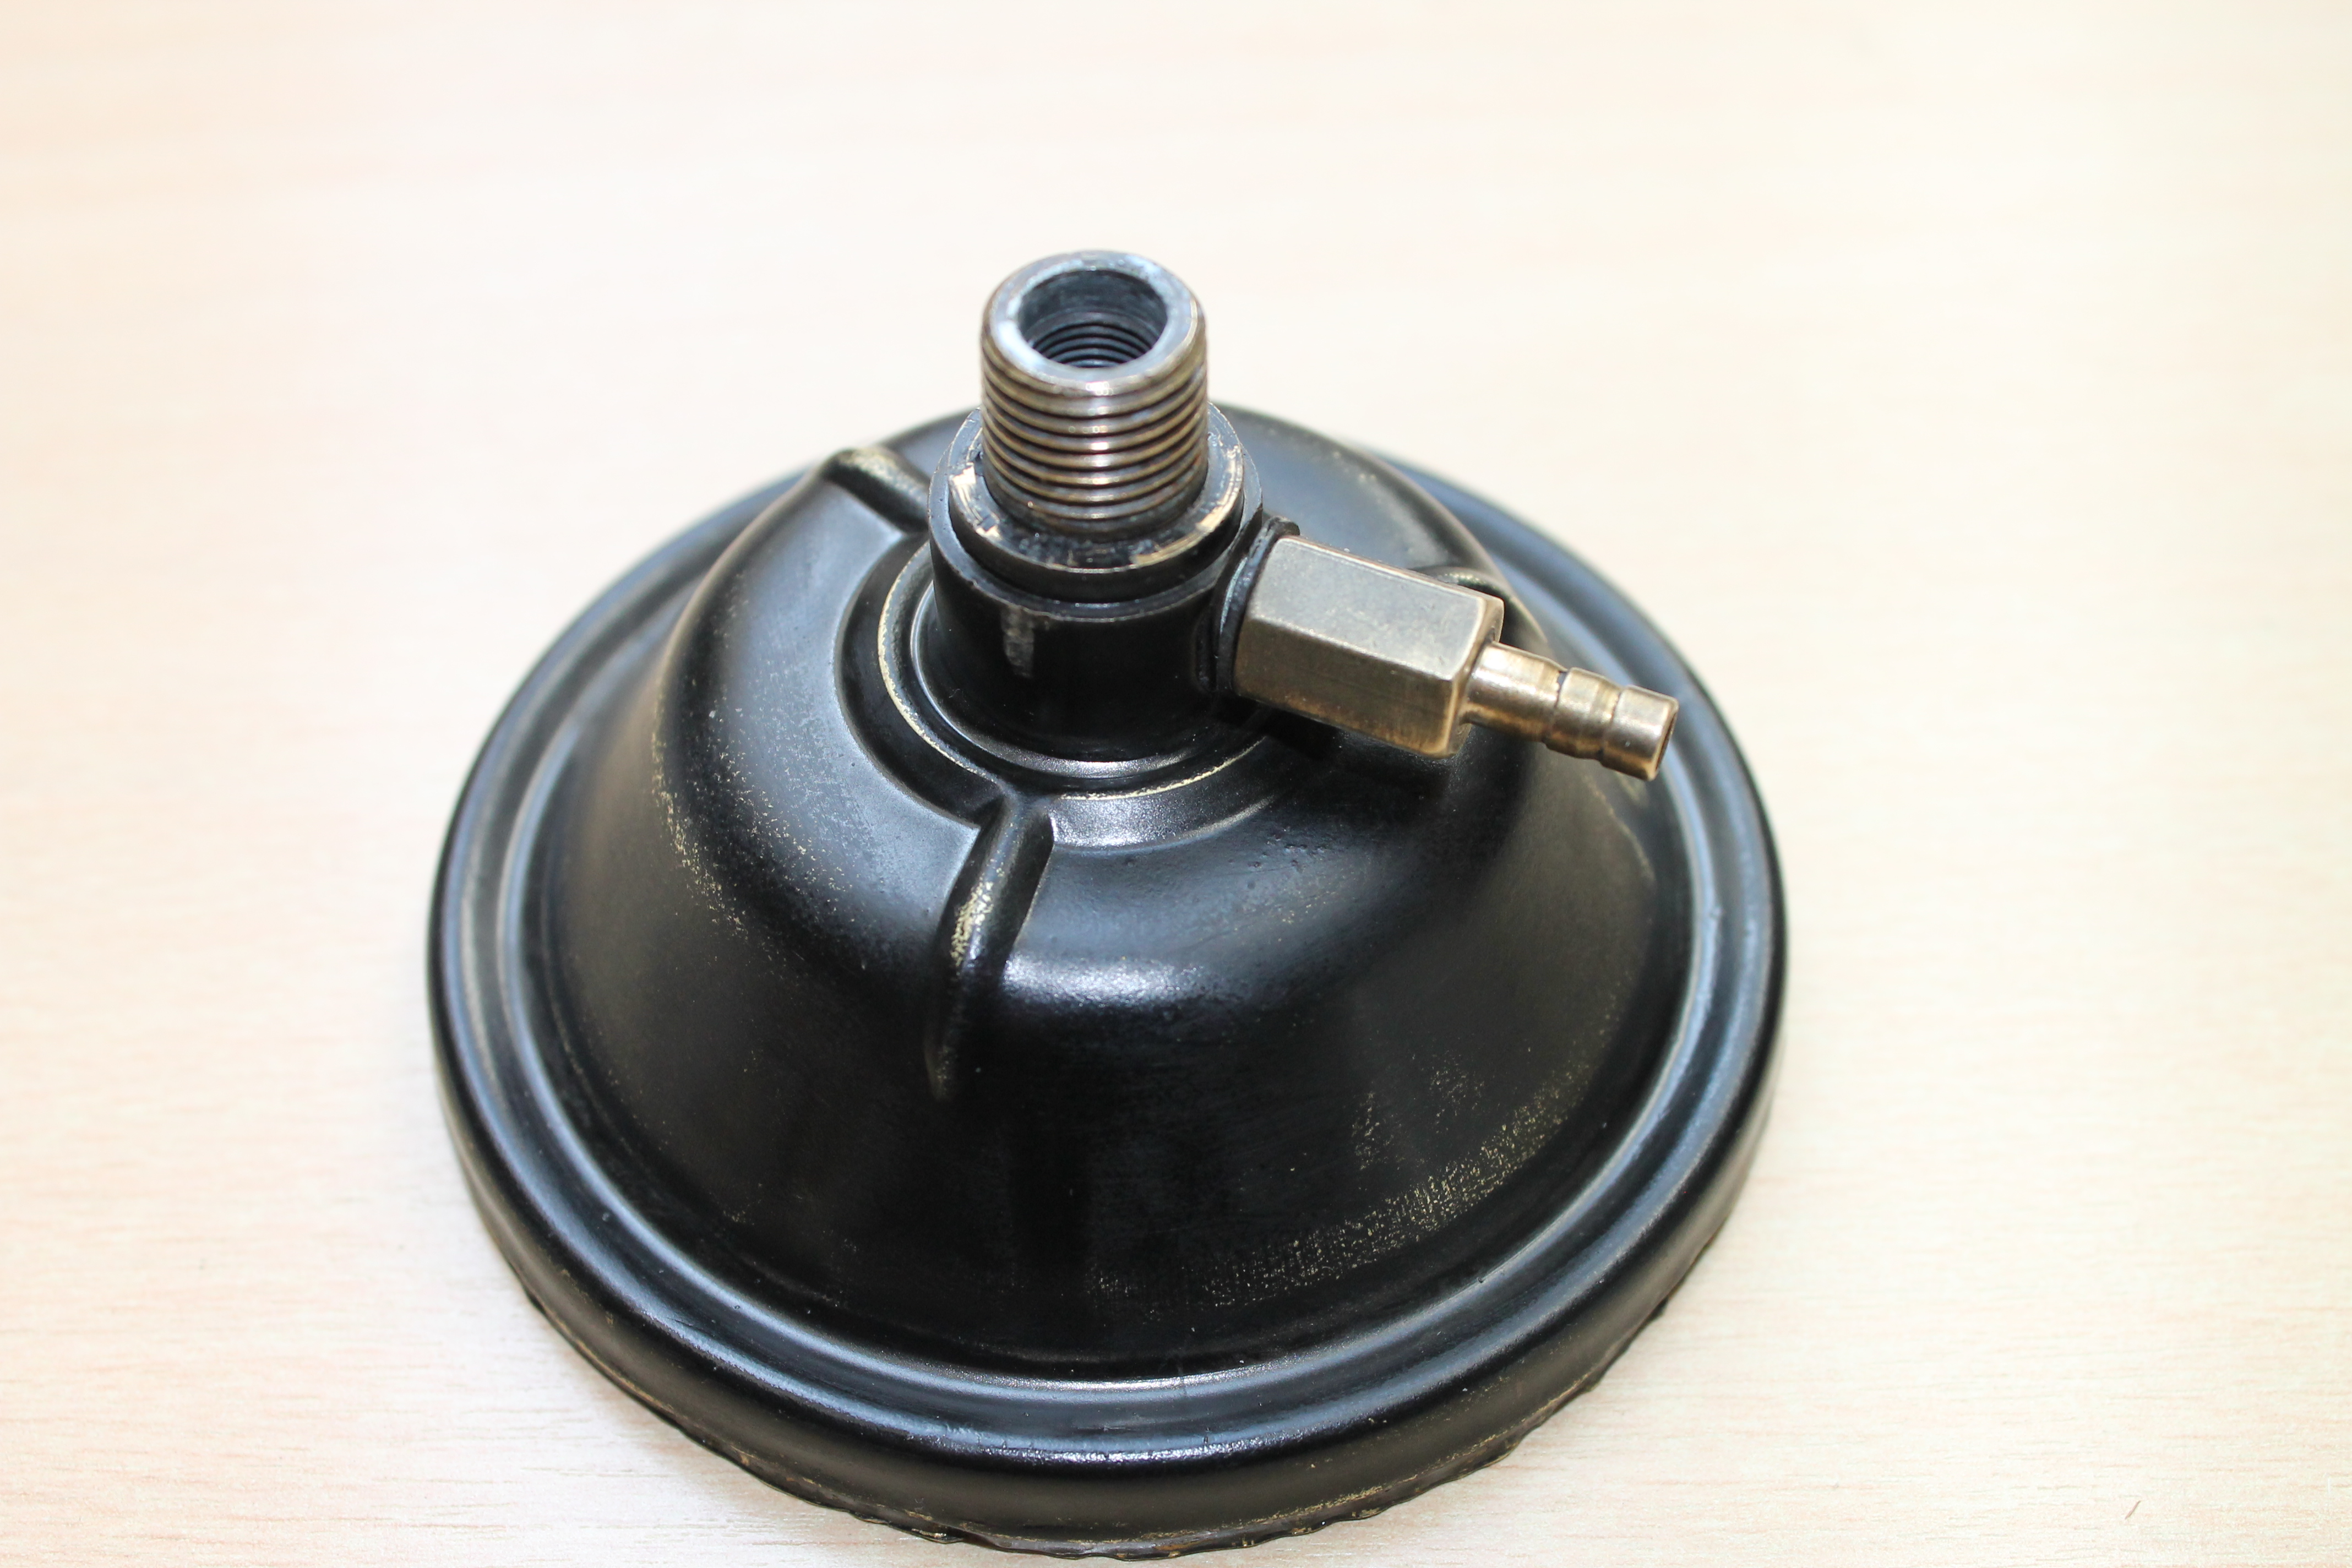
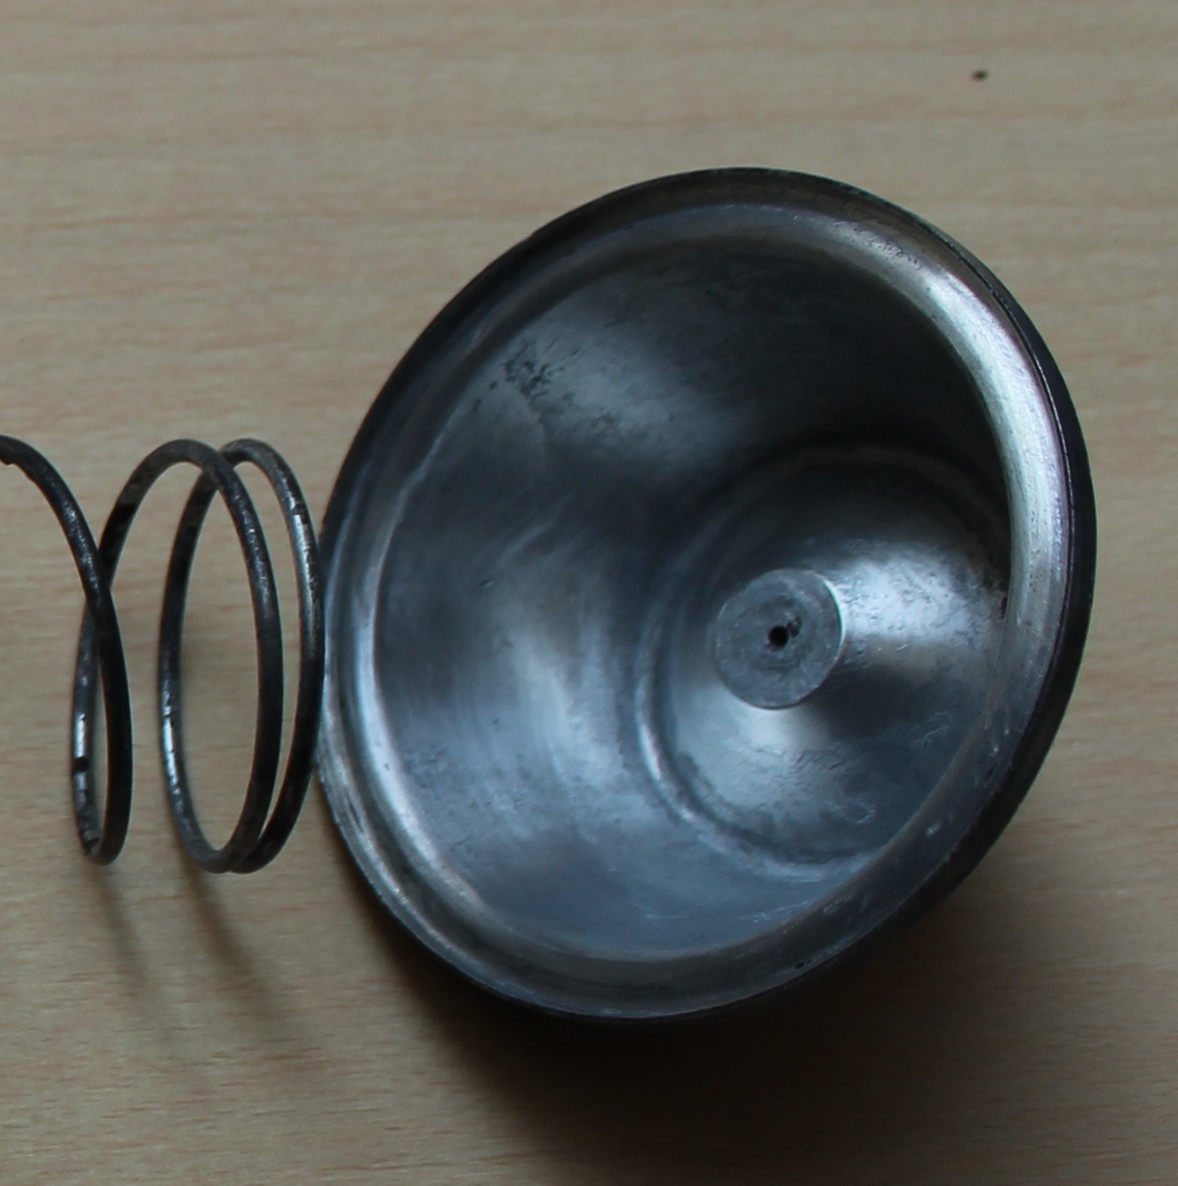
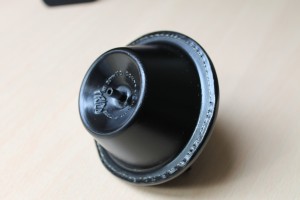
The pump of the XK 120 and XK 140 (Jaguar Part Nº C.5473/3 or Trico Part Nº X.82540) have a brass lower dome half (photo below left) and an upper half made of high pressure die-cast aluminium (photo below right). The XK 150 version basically has the same pump unit (Jaguar Part Nº C.10127/3) but with a different vacuum connection (on top) of the aluminium housing (see photo above right).
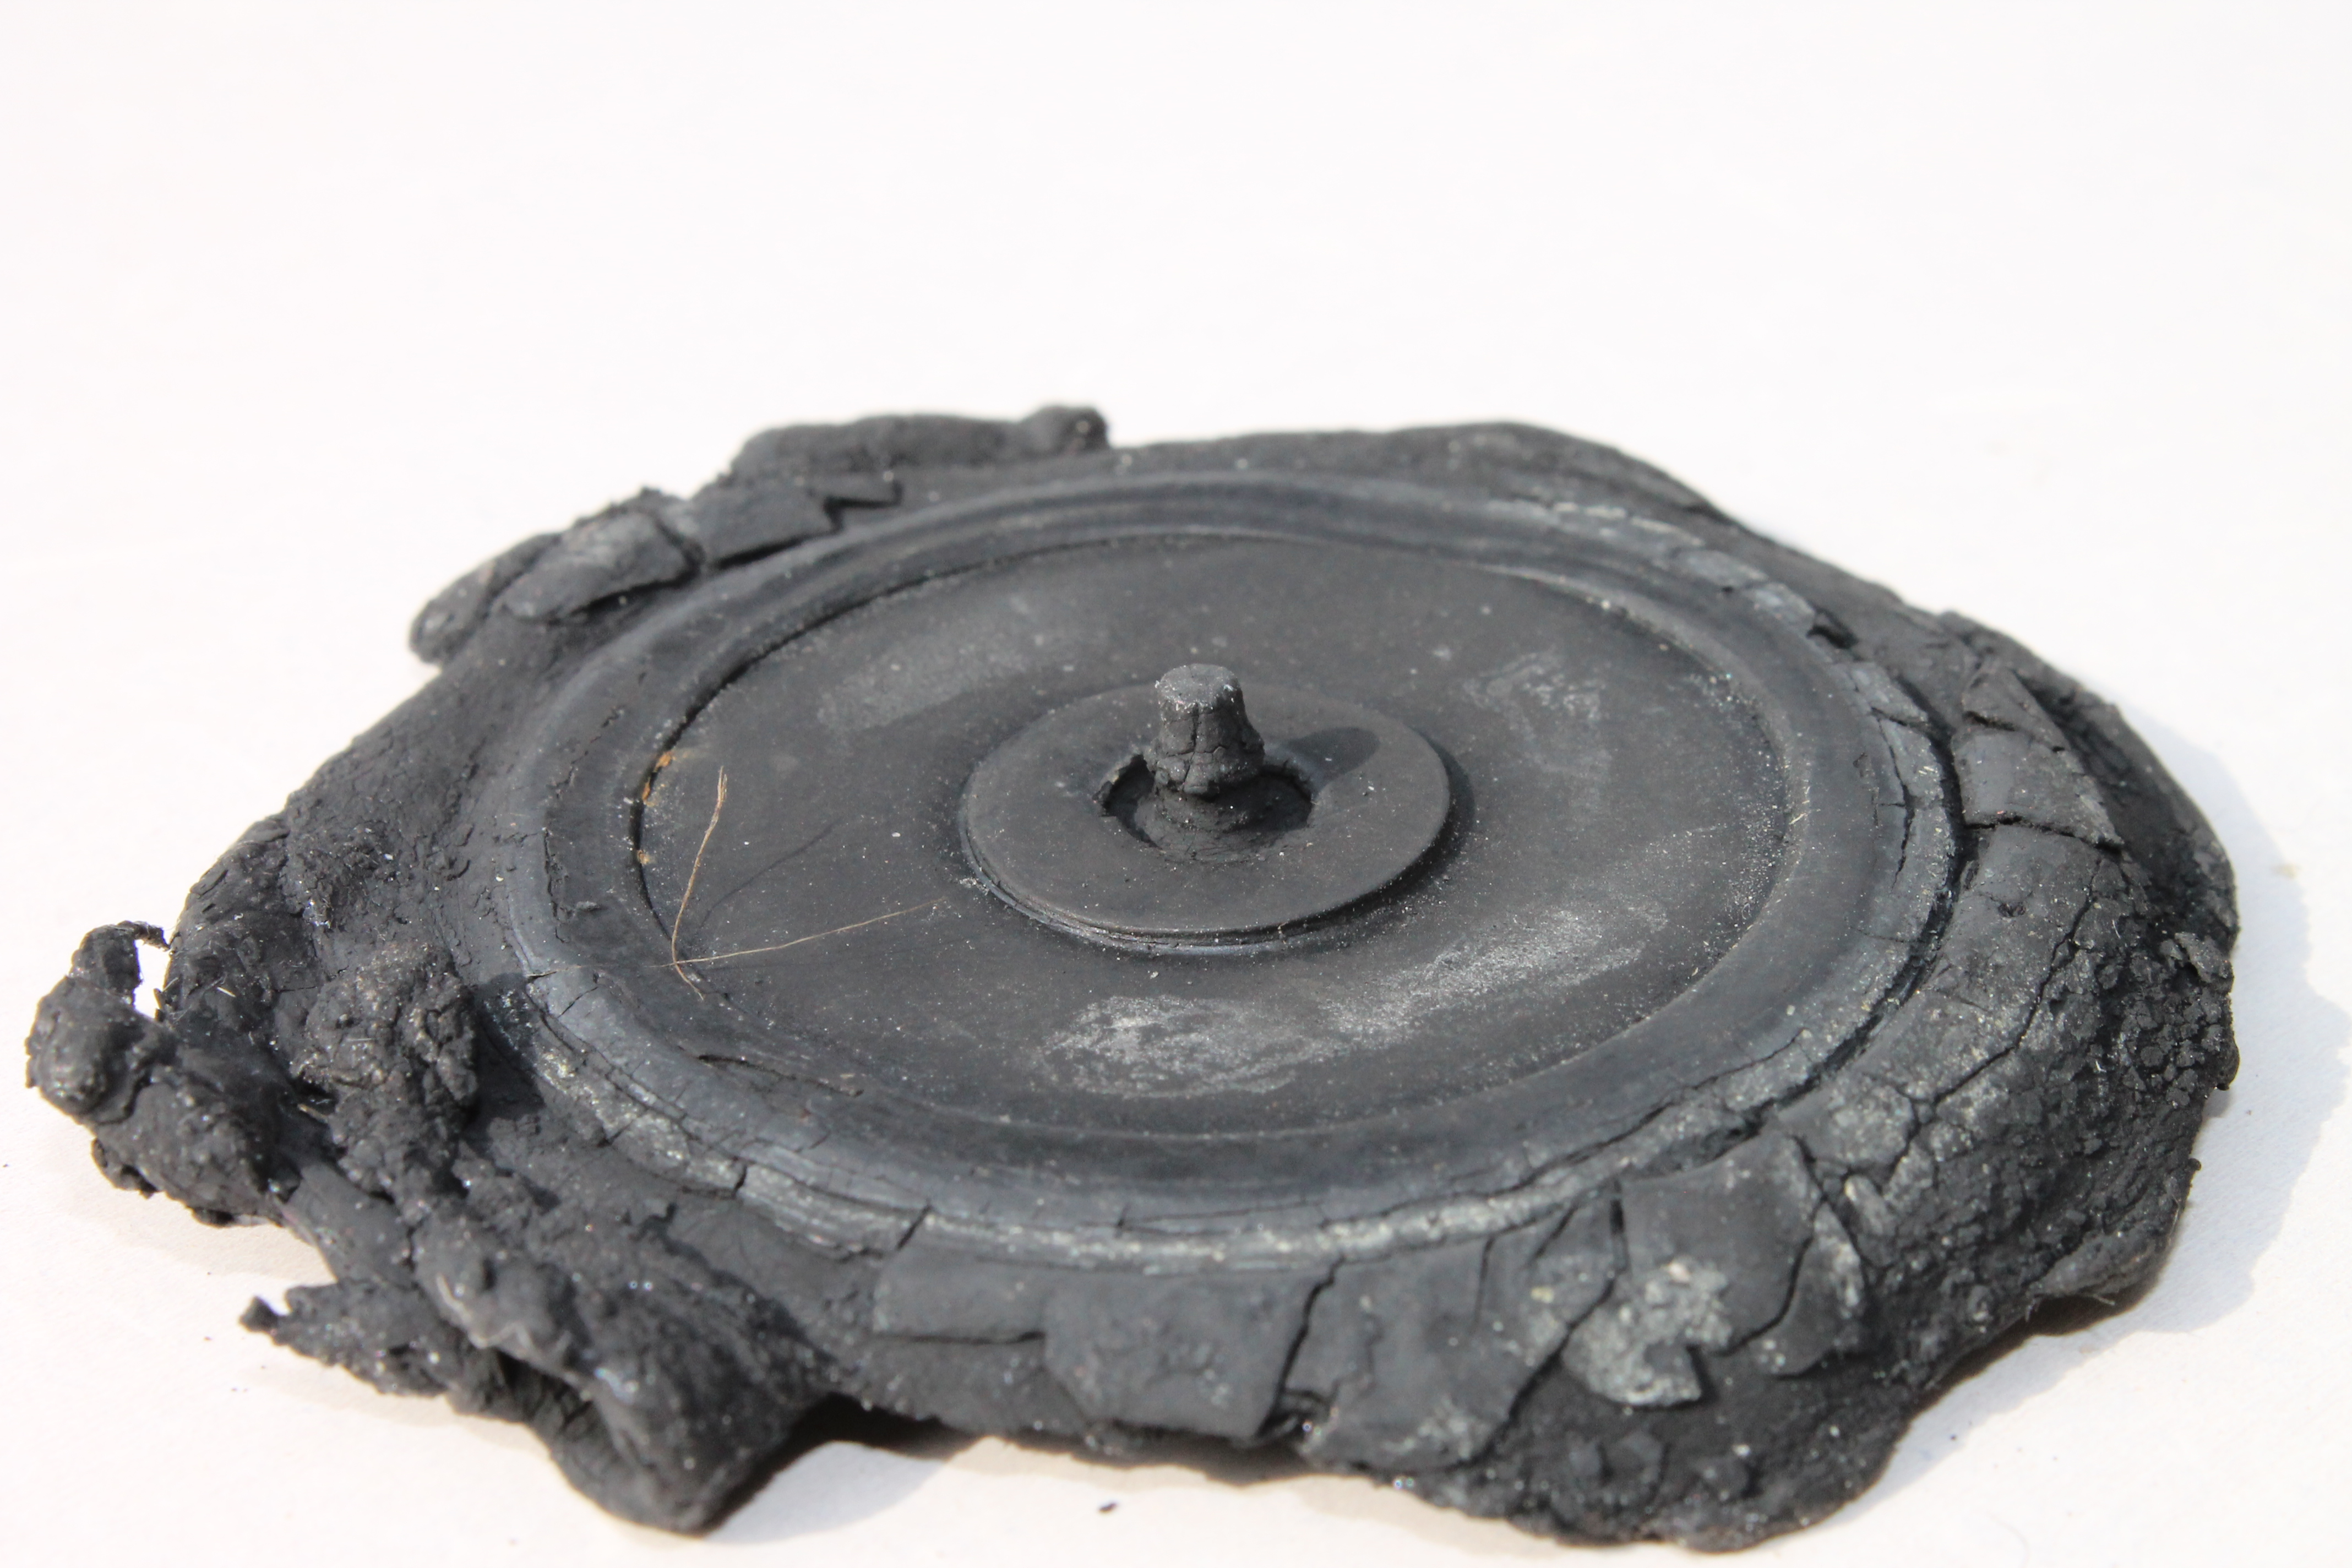
Over the years the rubber diaphragm will deteriorate, start leaking and eventually completely disintegrate: the pump has stopped working. See two examples below in different stages of disintegration.
Replacement rubber diaphragms are not available (yet?), but some have been manufactured on a small scale. Assuming a replacement diaphragm is there, it is possible to repair such a Trico pump under the condition that the other components can be reused.
Construction
The two dome halves hold the rubber diaphragm (here shown in white but normally black). The diaphragm is pressed downwards in the brass part by a large spring. The rubber diaphragm has a brass “seat” to centre the spring at one side and a phenolic plate at the other side (see “exploded view” below).
This phenolic plate is pressed down by the large spring and in turn operates a small spring arm at the bottom of the brass lower dome-half when no vacuum is present. This small spring secures that the check valve in the suction tube is open and can suck washer fluid from the glass reservoir into the dome.

 Small arm operating check valve Second check valve in hose to washer jets

This check valve closes the “strainer” tube when vacuum is present above the diaphragm and prevents that water will flow back in the glass reservoir; this check valve consists of a steel ball and a spring . A second check valve is in the hose through which washer-fluid is pumped towards the washer jets. It is screwed in the side of the lower dome half and sealed with a fibre washer.
Repair step by step
It is possible (with a lot of patience) to open the rolled brass rim with a small screw driver. Try not to open the brass rim too quickly as otherwise the brass may tear or brake: take a small section and bend it open a liitle bit and then use a pair of pliers to bend the brass further to 90 degrees. Remember that there is a large spring inside, so keep both dome halves firmly together in your hand. The rubber diaphragm may have “glued” to the brass dome half and it may be required to separate the rubber from the brass using a screwdriver or chissel. Remove all parts as shown in the “exploded view”.
Clean all components and check for damage. Normally there is some corrosion on the inside of the dome that can be removed easily. Especially check whether the two surfaces that will hold the diaphragm are clean and smooth in order to obtain a perfect seal once the two dome halves have been “squeezed” together.
Place the components in the order as shown in the “exploded view” and note that the spring is rather long. Quite some pressure is therefore required to overcome the spring force and bring the two dome halves together.
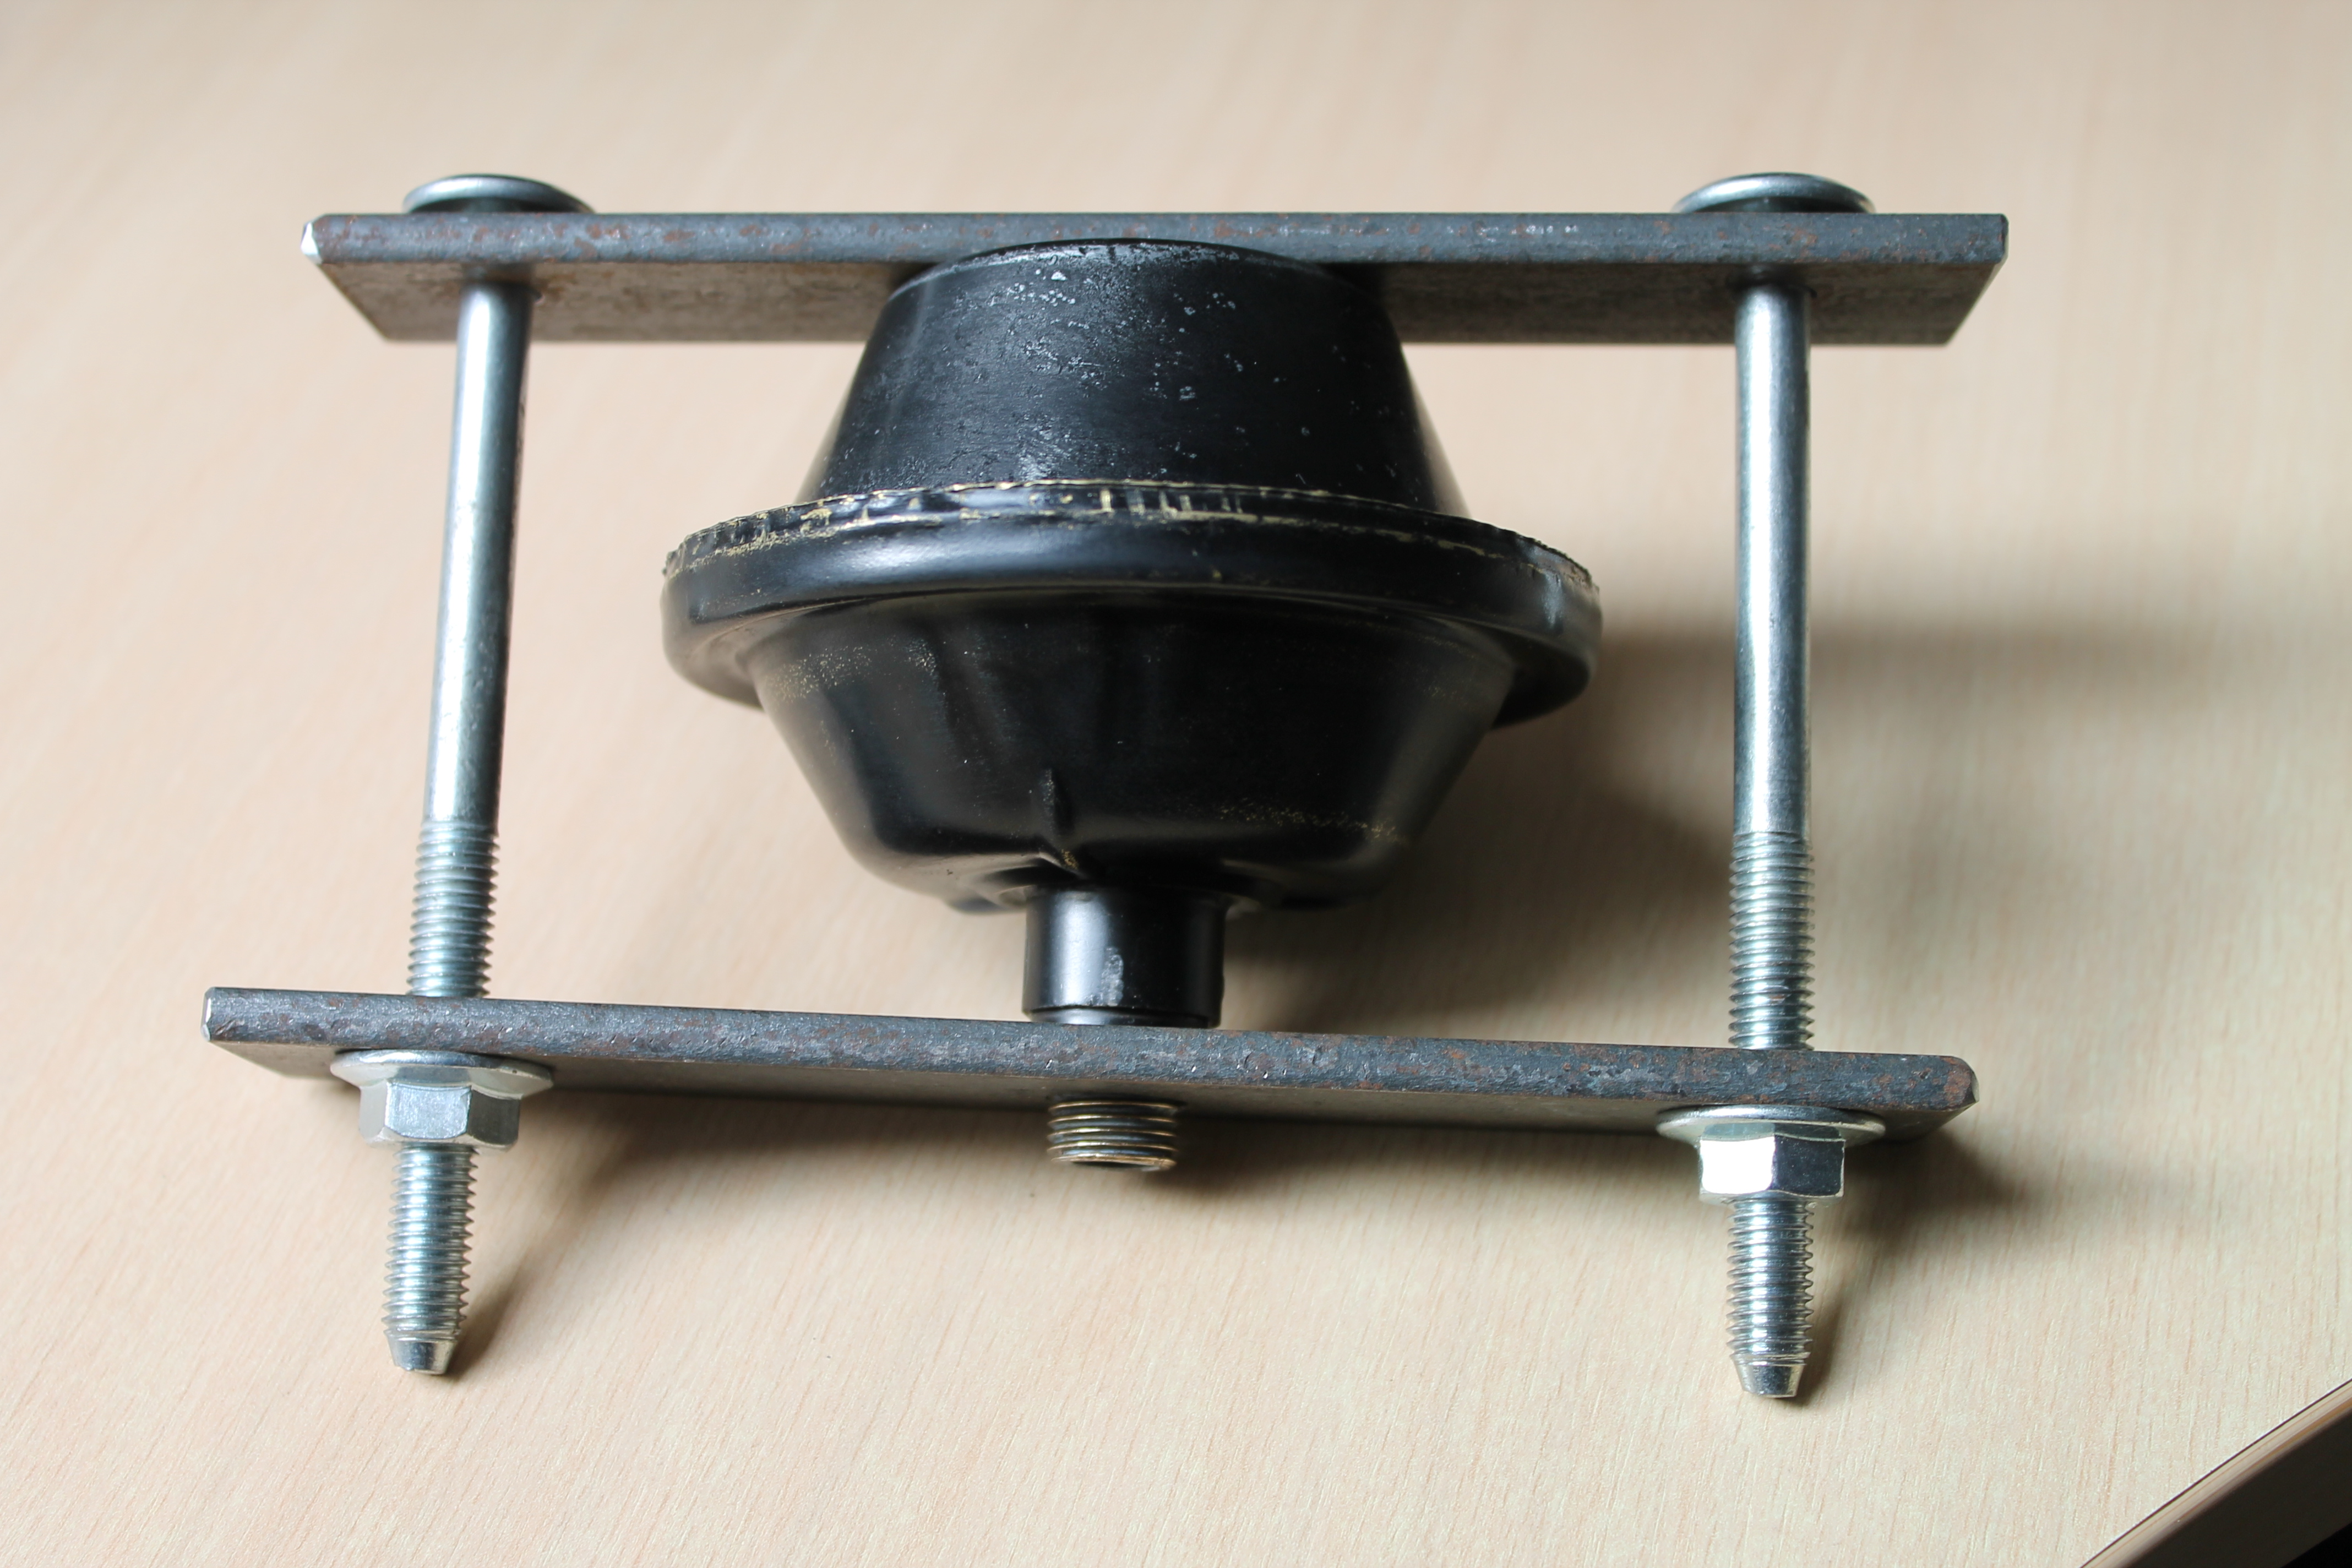
It may be easier to make a special tool to hold the two dome halves under pressure while the edges are bent back to obtain a reliable mechanical seal.

 Simple tool to keep the dome halves together Finished product

Carefully bent the brass rim back to a flat position, trying not to use excessive force from e.g. a steel hammer since this would stretch the brass (instead of shrink it). We may assume that Trico used special equipment to roll back the brass rim and we should try to come as close as we can to this mechanical operation (with simple hand tools). It is possible to obtain a good seal, although signs of the operation will remain visible (photo above right).
End result
It is very rewarding to see a 60 year old defective washer pump fully operational again. Complete washer pumps are available nowadays but they are rather expensive and may deviate from the original Trico design of the 1950’s: the XK 150 upper dome is sometimes also used for the XK 120/140 versions. Shown here is the “repaired” XK 140 FHC washer unit with the square bottle.

Hello,i,m looking for the Rubber for my XK120 Pump.
Sorry Karl-Heinz, I’m afraid these are no longer made. Bob